


In this topic, Explore the Project Interface, we will review the various areas of the Microsoft Project scheduling tool that you will become familiar with as we work together through the various modules and topics of this course.
The Project Interface
The Start screen
Upon launching Microsoft Project, the Start screen is displayed. From here you can open an existing plan, create a new one, start a project from a template, and more. You can create a new, blank project by clicking the Blank Project option.
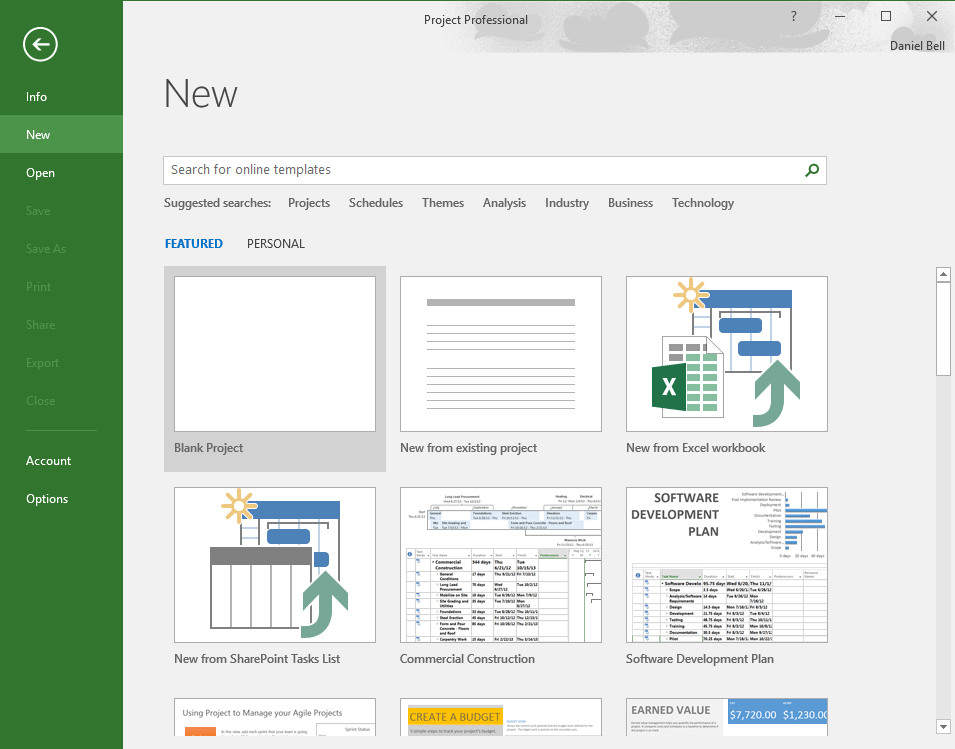
The Microsoft Project Start screen includes many options for creating new projects, opening existing projects, and accessing other parts of the program to set options.
- Blank Project: This option would be chosen if you want to start from a blank project. In this case you would specify all the options for your project including tasks, dependencies, etc.
- New from existing project - This is a great option to use if you want to start your project from an existing project that is like the one you will be creating.
- New from an Excel workbook – Use this option if you have your tasks in Excel and would like to import them into Microsoft Project.
- SharePoint tasks lists – create a project plan using SharePoint Task lists that were created in SharePoint
- Templates – Microsoft templates are available as well as a search box for additional templates without having to open a web browser
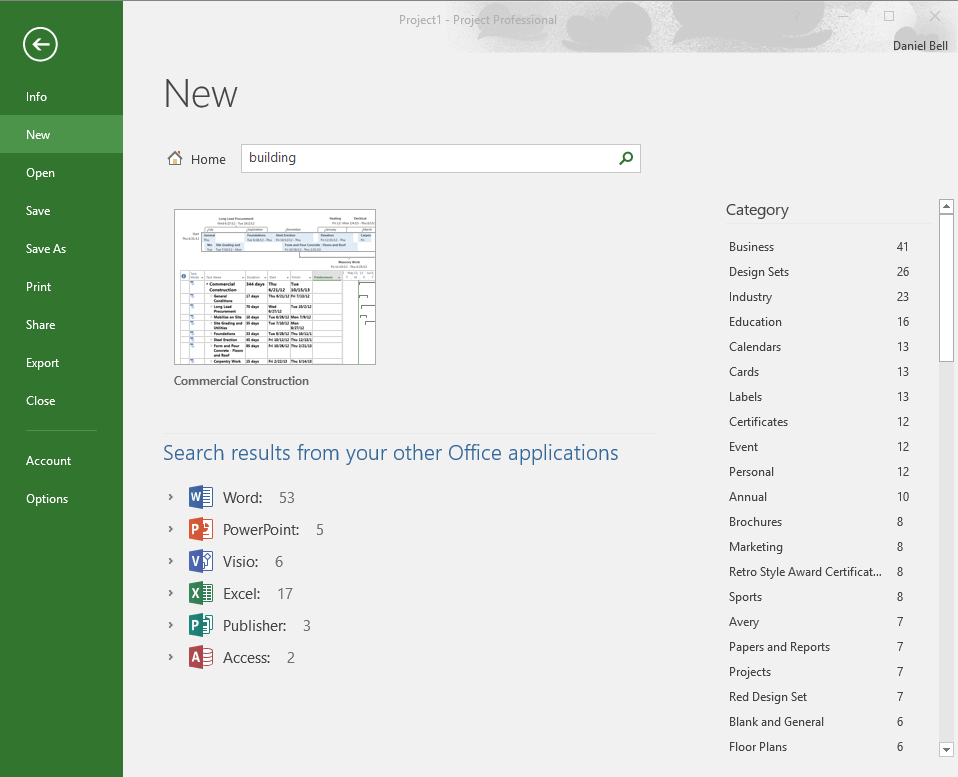
Searching for a template
In addition to these options you probably noticed that there are many templates available from Office.com. These templates are all available for free from Microsoft. There is also a Search function and a category side pane allowing you to search through hundreds of available template to find exactly what you are looking for.
Creating a New Project from a Template
Templates may also be created and saved to standardize project schedules. They may contain a work breakdown structure, duration and work estimates, and generic resources. Templates are a great way to help implement standardization across the organization which helps enable consistent reporting. Templates also help project managers new to the organization adapt quicker by utilizing templates. To create a project from an Office.com template, click the icon for the template you wish to use.
The Project Screen
The major parts of the Project screen are noted below. What you see may differ depending on your screen resolution and what customizations have been made to your Project ribbons.
- Quick Access Toolbar - Customizable, add your frequently used commands
- The Tell Me box - helps to quickly find help about a Project command.
- The Ribbon - contains commands used to perform actions & functions in Project.
- Groups - are collections of related commands.
- Commands - are specific features to perform actions.
- Screen tips - provide short explanations of commands and other items in Project.
- Active View - is displayed in the main Project window.
- The view label - appears along the left edge of the active view.
- Status Bar - displays important details, like scheduling mode of new task.
- View shortcuts - used to quickly switch between recently used views & reports.
- The Zoom Slider - zooms the active view in or out.
- Shortcut menus - appear when you right-click an item.
The Backstage view
The Backstage view contains customization and sharing options that apply to the entire plan. The options for the Backstage view are on tabs that appear along the left edge of the Backstage window.

- Info Page – access to organizer, feature used to share custom elements between plans
- New Page – displays options for creating a new plan from scratch or based on a template.
- Open, Save, Save As and Close are standard file-management commands.
- Print Page includes options for printing a plan.
- Share Page includes options for Microsoft SharePoint Synchronization and attaching a plan to an email message.
- Export Page includes options for generating a copy of the plan in PDF, XML of Paper Specification (XPS) format.
- The Account Page displays connected services and information about Project, such as version information.
Clicking Options opens the Project Options dialog. This dialog box itself contains several pages through which you can adjust a wide range of default settings.
Navigating the Ribbon
The most common commands in Microsoft Project are accessible from the ribbon. The ribbon is divided into tabs that contain commands that are logically grouped.
The Task Ribbon
The Task ribbon contains task centric commands. This includes adding, formatting, and managing tasks within a project.
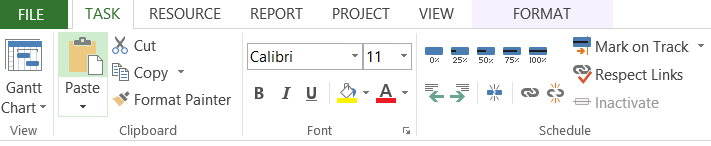

Note: If you hover over a command a Screen Tip will appear describing what function the command performs.
The Resource Ribbon
The Resource ribbon contains commands related to managing resources within a project. Common commands include, adding resources, assigning resources, and leveling resources.

The Project Ribbon
The Project ribbon provides options for defining project properties, rescheduling work and baselining the project.

The View Ribbon
The View ribbon contains the viewing options available in Microsoft Project. Change the view from this ribbon to display different data, filter, Group by and expand/collapse the outline to change how the data is presented. Modify the timescale on the Gantt chart and create a split view from this ribbon as well.

The Format Ribbon
The Format ribbon provides a variety of formatting options. This ribbon will dynamically change based on the view you are currently in. It is also where the Project Summary Task can be set to display as well as outline numbers for the work breakdown structure.

