


How to Import Projects into Microsoft Project Online
Any projects that you have currently that are not enterprise project (projects in the Project Online system) may be imported into Microsoft Project Online. Importing a project into Microsoft Project Online using the Import Wizard is highly recommended to do this. Before running through this procedure, be sure you have just one MS project mpp file opened that you want to import into Project Online open.
Importing Projects
Open Project Pro
1. Navigate in your local file to where the project file is saved and open it.
2. Navigate File > Confirm your PWA is selected > Save As > Check Use Import Wizard box
3. Click the Save button
Information: At this point Microsoft Project will display the Import Project wizard. This import wizard will walk you through the steps required to successfully import a non-enterprise project and the entire task list into the Microsoft Project Online system.
4. If your project contains resources, you will want to click the Map Resources link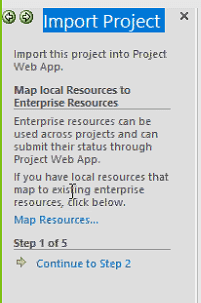
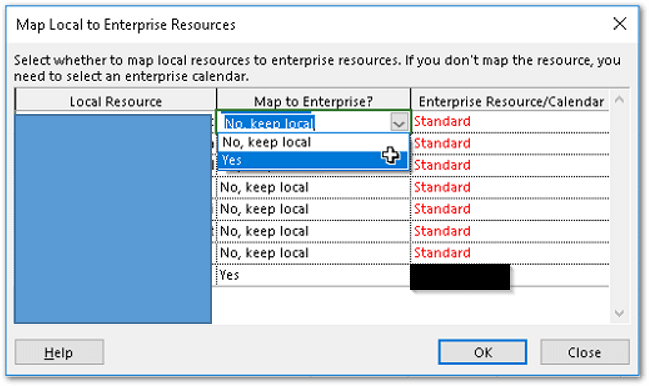
Information: The system displays the Map Local to Enterprise Resources Dialog. Use this dialog to match the local resources listed on the local project plan being imported with enterprise resources in Microsoft Project Online. This dialog functions as follows:
- If the local resource has the same name as an Enterprise Resource, the system will automatically map the local resource to it's Enterprise counterpart
- If the local resource has no enterprise resource match, the system leaves the local resource in an unmatched state. In these cases you must manually select to either keep the resource local until you create an Enterprise version, or select Yes, then select the Enterprise Resource/Calendar you wish to map to
Tips to help map resources:
• Project resources may need to be updated so resources can be mapped accurately.
• Match all resources. May have to replace duplicate resources.
• Remove unused resources.
5. Proceed to the next step in the Import Wizard – this step checks for mapping errors with resources.
The Map Resources Confirmation Below shows no errors. Click Continue to Step 3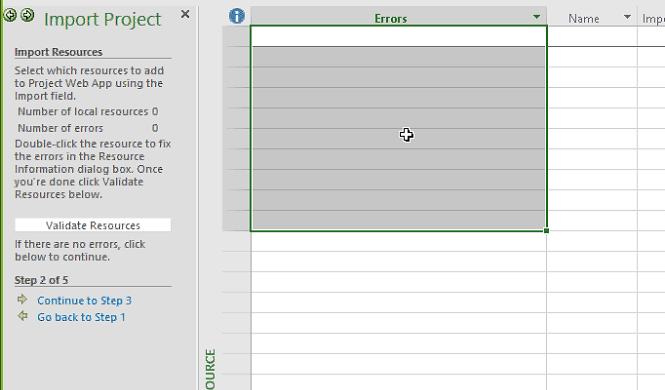
Use the Map Task Custom Fields page to match any local custom task fields in your local project schedule with the Project Online system. Click the Map Fields link in the Import Project Wizard sidepane to display the Map Custom Fields dialog.
6. If your plan contains task attributes, map them in the same manner as the resources were mapped. Proceed to the next step to check for task attribute mapping errors.
7. At the Complete Import step be sure to click the Save link.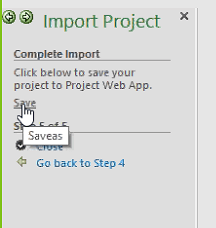
8. Copy Project Name.
9. Paste Project Name into the Save to Project Web App dialog box.
10. Select values for the required custom fields.
11. Click Save button.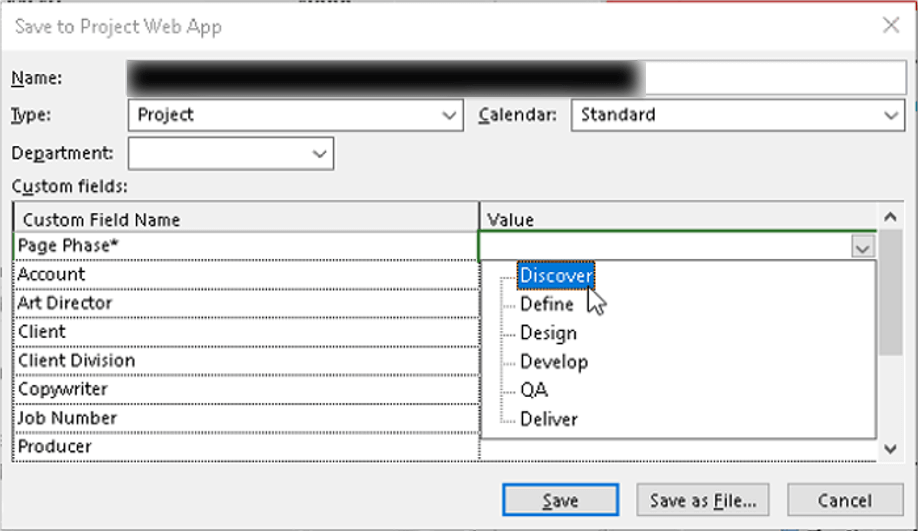
Information: Saving status showing in bottom right.
12. After a successful save, be sure to publish by navigating File > Publish.
13. At the Project Site creation dialog, click the Publish button again.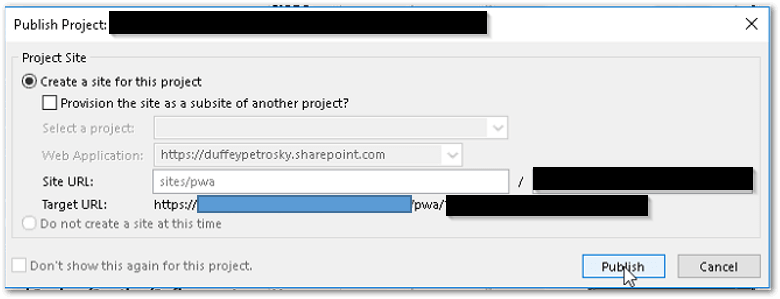
Related Links
