Table of contents
Adding Named Resource to the Resource Pool
Named resources can be added to the Resource Pool in two (2) ways:
- Resource Pool Active Directory which syncs overnight. Resource information can be updated on the resource appears in the Resource Pool.
Resources who will be users and logging in should be added through Active Directory! - Manually added the resources to the resource pool (same method as adding generic resources below).
Adding Generic Resource to the Resource Pool
Generic resources are typically roles that are added to projects as scheduling placeholders until the named user can be assigned to the task. Generic resources need to be added directly in the Resource Center.
Project Online
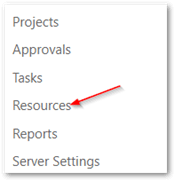
- Click on Resources in the left Quick Launch menu.
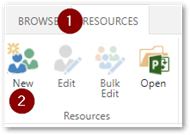
2. Click on the Resource ribbon then New
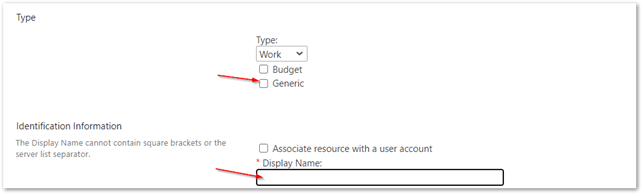
- In the first section, check the Generic box and confirm Work is the Type.
- Under Display Name, enter the resource name. I have been using the naming convention of “ ”. For example: 1021 Installer
5. Scroll down just over halfway in the form. Under the Resource Custom Fields section, populate the Resource Business Unit and Role fields with the proper value.

- Click on Save (option at both top and bottom of page).
- Review the list in the Resource Center to confirm the new resource appears.
Project Professional
Once the resource appears in Resource Center, you can update the resource information
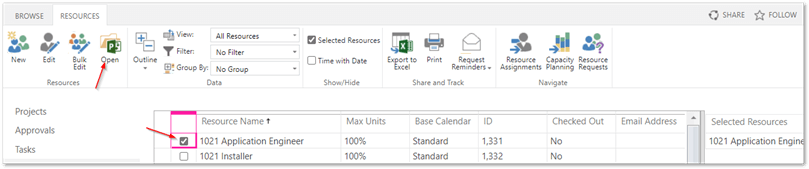
Tip: Check the Selected Resource box to display the Selected Resources pane on the right side.
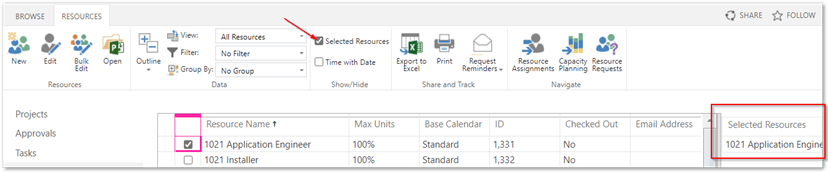
- Create one (1) generic resource in Resource Center as described above
- Select the one resource and click the Open in Project Professional icon.

3. Confirm Project Online can open using Project.
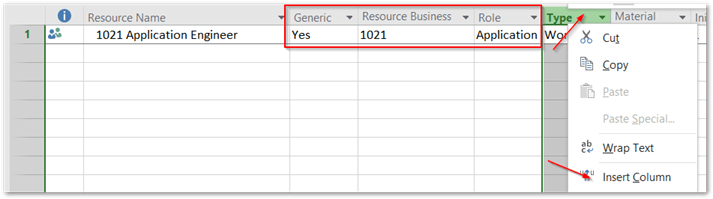
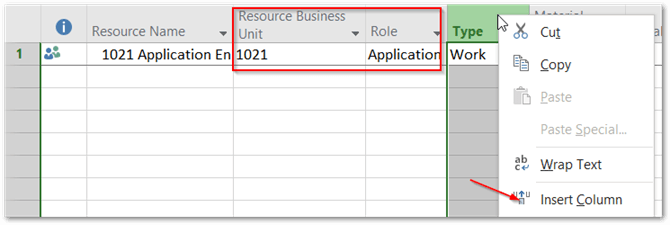
4. Once the resource opens in Project, add in these columns. Right click on the Type column and select Insert Column
- Generic
- Resource Business Unit
- Role
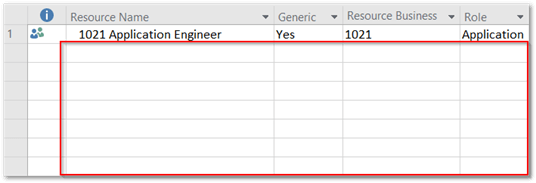
- Type in each additional resource in the box.
- Update the Generic field to Yes.
- Update the Resource Business Unit and Role to reflect the proper value.

- Click Save to save your changes.
- Click on the X to close out.
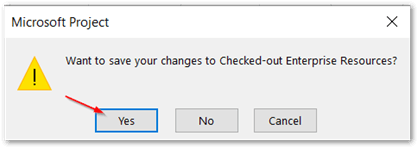
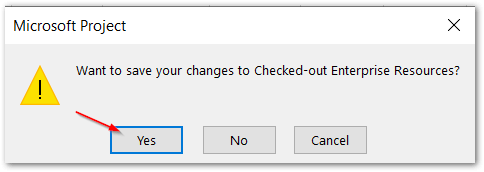
- When prompted, click Yes to confirm.
Updating Resource Information
Microsoft Project Online
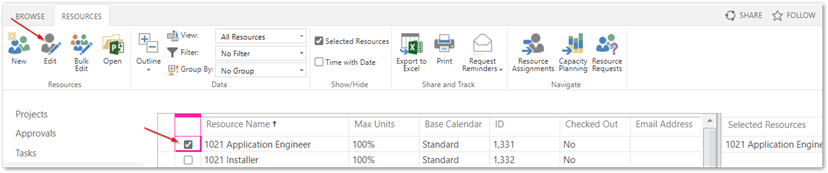
- Find the Resource in the Resource Center and select the checkbox.
- In the Resources ribbon, click on Edit.
3. Scroll down about halfway in the form. Under the Resource Custom Fields section, populate the Resource Business Unit and Role fields with the proper value.

4. Click Save
Microsoft Project Professional
Once the resource appears in Resource Center, you can update the resource information
Tip: Check the Selected Resource box to display the Selected Resources pane on the right side.
- Create one (1) generic resource in Resource Center as described above
- Select the one resource and click the Open in Project Professional icon.
3. Confirm Project Online can open using Project.
4. Once the resource opens in Project, add in these columns. Right click on the Type column and Insert Column.
• Resource Business Unit
• Role
- Type in each additional resource in the box.
- Update the Resource Business Unit and Role to reflect the proper value.
- Click Save to save your changes.
- Click on the X to close out.
- When prompted, click Yes to confirm.